
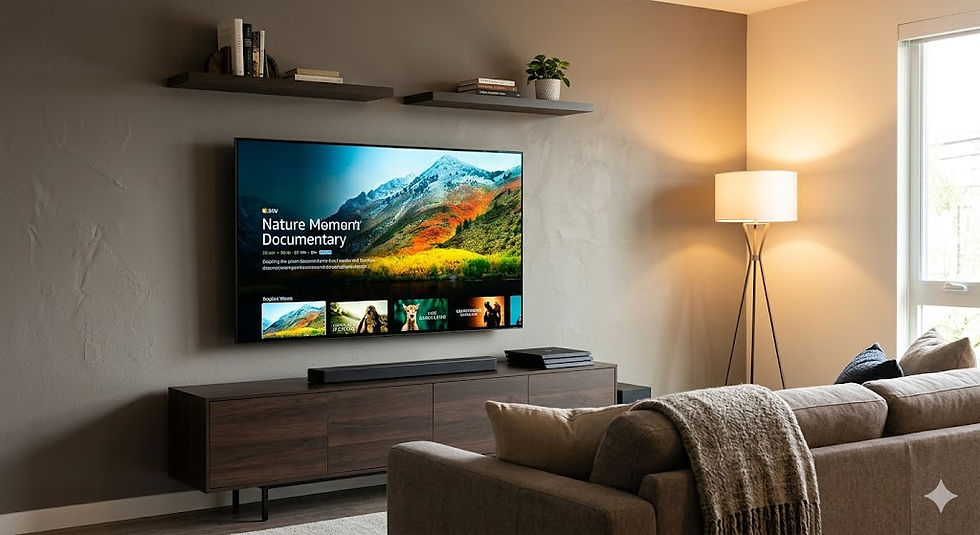
Essential Tools for Hassle-Free TV Setup
- Quicktv Setup
- Jan 7
- 4 min read

Setting up a new television can often feel like a daunting task. With various components, cables, and settings to consider, it’s easy to become overwhelmed. Fortunately, with the right tools and a bit of guidance, you can streamline the process and enjoy your new TV in no time. This guide will walk you through the essential tools needed for a hassle-free TV setup, ensuring you can kick back and enjoy your favorite shows without unnecessary stress.

Understanding Your TV Setup Needs
Before diving into the tools required, it’s important to understand what your specific setup needs are. Consider the following:
Type of TV: Is it a smart TV, 4K, or a standard model?
Location: Will it be wall-mounted or placed on a stand?
Components: Are you connecting a sound system, gaming console, or streaming device?
Cables: What types of cables will you need for connections?
By answering these questions, you can better prepare for the setup process.
Essential Tools for TV Setup
1. Basic Tools
Having the right basic tools on hand can make a significant difference in your setup experience. Here are the must-haves:
Screwdriver Set: A set of screwdrivers, including Phillips and flathead, is essential for assembling stands or wall mounts.
Level: This tool ensures your TV is perfectly aligned, especially if you are wall-mounting it.
Measuring Tape: Use this to measure the distance from the wall or furniture to ensure your TV is placed correctly.
2. Cable Management Tools
Cable management is crucial for a clean and organized setup. Here are some tools to consider:
Cable Ties: These help bundle cables together, preventing tangles and clutter.
Cable Clips: Use these to secure cables along walls or furniture, keeping them out of sight.
Cable Sleeves: These can cover multiple cables, providing a neat appearance.
3. Connection Tools
To ensure all your devices connect seamlessly, you’ll need the following:
HDMI Cables: These are essential for connecting your TV to devices like Blu-ray players, gaming consoles, and streaming devices.
Optical Audio Cables: If you have a sound system, these cables will help connect your TV to the audio system for better sound quality.
Ethernet Cables: For smart TVs, a wired connection can provide a more stable internet connection than Wi-Fi.
4. Wall-Mounting Tools
If you decide to wall-mount your TV, you’ll need specific tools:
Wall Mount Kit: Ensure you have a compatible wall mount for your TV size and weight.
Stud Finder: This tool helps locate wall studs, ensuring a secure mount.
Drill: A power drill is necessary for making holes in the wall for the mount.
5. Smart Setup Tools
For smart TVs, additional tools can enhance your setup experience:
Remote Control App: Many smart TVs have companion apps that allow you to control the TV from your smartphone.
Streaming Device: If your TV isn’t a smart model, consider a streaming device like Roku or Amazon Fire Stick for access to streaming services.
Step-by-Step TV Setup Process
Now that you have the essential tools, let’s walk through the setup process step-by-step.
Step 1: Choose the Right Location
Select a location that provides a comfortable viewing angle and is free from glare. Ensure there are power outlets nearby for your TV and other devices.
Step 2: Assemble the Stand or Wall Mount
If you’re using a stand, follow the manufacturer’s instructions to assemble it. For wall mounting, use the stud finder to locate the studs, mark the spots, and drill holes for the mount.
Step 3: Connect Your Devices
Using the HDMI and audio cables, connect your devices to the TV. Ensure each connection is secure and properly seated.
Step 4: Manage Your Cables
Use cable ties and clips to organize your cables. This not only improves aesthetics but also prevents accidental disconnections.
Step 5: Power On and Configure
Once everything is connected, power on your TV. Follow the on-screen instructions to configure your settings, including Wi-Fi connection and channel setup.
Step 6: Test Your Setup
Finally, test each connected device to ensure everything is working correctly. Adjust settings as needed for optimal performance.
Troubleshooting Common Issues
Even with the right tools and setup, you may encounter issues. Here are some common problems and solutions:
No Signal: Check that all cables are securely connected and that the correct input source is selected on your TV.
Poor Picture Quality: Ensure your HDMI cables are high-speed and compatible with your TV’s resolution.
Audio Issues: If sound isn’t working, check the audio settings on your TV and ensure the correct output is selected.
Conclusion
Setting up your TV doesn’t have to be a stressful experience. By gathering the essential tools and following a clear process, you can enjoy a hassle-free setup. Remember to take your time, and don’t hesitate to consult your TV’s manual for specific instructions. With everything in place, you’ll be ready to sit back, relax, and enjoy your favorite shows in no time.
Next Steps
Now that you have the tools and knowledge, it’s time to get started on your TV setup. Gather your tools, follow the steps outlined, and transform your space into a home entertainment haven. Happy viewing!


Comments