
Quick Tips for Fast TV Setup and Installation
- Quicktv Setup
- Jan 7
- 4 min read

Setting up a new television can often feel like a daunting task. With various cables, settings, and mounting options, it’s easy to become overwhelmed. However, with a few quick tips and a little preparation, you can have your TV up and running in no time. Whether you’re a tech novice or a seasoned pro, this guide will help streamline your TV setup process.

Gather Your Tools and Equipment
Before diving into the setup process, it’s essential to gather all necessary tools and equipment. Here’s a checklist to ensure you have everything you need:
TV and remote control: Ensure your TV is unboxed and ready for installation.
Mounting hardware: If you plan to mount your TV, gather the necessary brackets and screws.
Cables: HDMI cables, power cords, and any additional cables required for your devices.
Tools: A screwdriver, level, and possibly a drill if you’re mounting the TV on the wall.
Internet connection: If your TV is smart, ensure you have Wi-Fi access or an Ethernet cable ready.
Having everything at hand will save you time and frustration during the installation process.
Choose the Right Location
Selecting the perfect spot for your TV is crucial for an optimal viewing experience. Here are some factors to consider:
Viewing distance: The distance between the TV and seating area should be appropriate. A general rule of thumb is to sit at a distance of 1.5 to 2.5 times the diagonal size of the TV.
Height: The center of the screen should be at eye level when seated. This prevents neck strain and enhances comfort.
Lighting: Avoid placing the TV in direct sunlight or glare from windows, as this can affect picture quality.
Once you’ve chosen the location, it’s time to prepare for installation.
Wall Mounting vs. Stand Placement
Deciding whether to mount your TV on the wall or place it on a stand is a significant choice. Each option has its pros and cons:
Wall Mounting
Pros:
Saves space and creates a sleek look.
Reduces the risk of tipping over, especially in homes with children or pets.
Allows for better cable management.
Cons:
Requires drilling into walls, which may not be suitable for all renters.
Installation can be more complex and may require assistance.
Stand Placement
Pros:
Easier to set up and move if needed.
No wall damage or installation tools required.
Cons:
Takes up more floor space.
May not provide the best viewing height.
Consider your living space and preferences when making this decision.
Connecting Your Devices
Once your TV is in place, it’s time to connect your devices. Follow these steps for a smooth connection process:
Power Connection: Plug the TV into a power outlet. Ensure the outlet is easily accessible for future adjustments.
Cable Connections: Connect your devices (like a cable box, gaming console, or streaming device) using HDMI cables. Make sure to note which HDMI port you use, as you’ll need this information later.
Audio Setup: If you have a soundbar or home theater system, connect it to the TV using HDMI ARC or optical cables for the best audio experience.
Internet Connection: Connect your TV to Wi-Fi or use an Ethernet cable for a stable connection.
After connecting all devices, turn on your TV and follow the on-screen prompts to complete the setup.
Configuring Settings
Now that your TV is connected, it’s time to configure the settings for optimal performance. Here are some key settings to adjust:
Picture Settings: Access the picture settings menu to adjust brightness, contrast, and color settings. Many TVs have preset modes like “Movie” or “Sports” that can enhance your viewing experience.
Sound Settings: Adjust the sound settings to suit your preferences. If you’re using external speakers, ensure the TV is set to output audio to them.
Network Settings: Connect your TV to the internet and sign in to your streaming services. This will allow you to access your favorite shows and movies.
Taking the time to configure these settings will significantly enhance your viewing experience.
Troubleshooting Common Issues
Even with careful planning, you may encounter some common issues during setup. Here are a few troubleshooting tips:
No Signal: If your TV displays a “No Signal” message, check that all cables are securely connected and that the correct input source is selected.
Poor Picture Quality: If the picture looks blurry or pixelated, check your cable connections and ensure you’re using high-quality HDMI cables.
Audio Issues: If you’re experiencing sound problems, check the audio settings and ensure the correct output device is selected.
By addressing these common issues, you can quickly resolve any setup challenges.
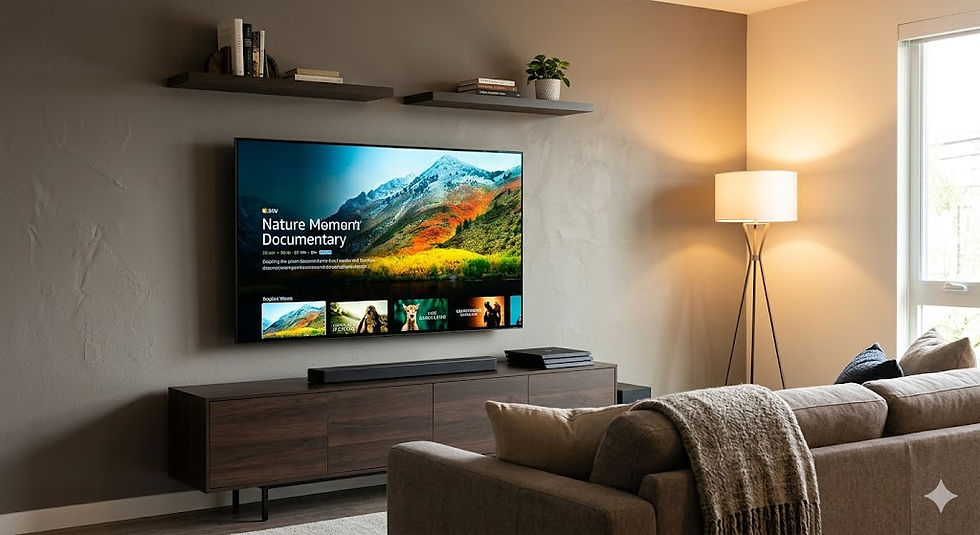
Final Touches
Once everything is set up and working correctly, consider adding some final touches to enhance your TV area:
Cable Management: Use cable ties or covers to keep cords organized and out of sight. This creates a cleaner look and reduces clutter.
Decor: Add personal touches around your TV area, such as artwork, plants, or decorative items, to make the space feel inviting.
Comfort: Arrange seating for optimal viewing and comfort. Consider adding throw pillows or blankets for a cozy atmosphere.
These final touches will not only improve the aesthetics of your space but also enhance your overall viewing experience.
Conclusion
Setting up your TV doesn’t have to be a complicated process. By following these quick tips, you can ensure a smooth installation and enjoy your favorite shows and movies in no time. Remember to gather your tools, choose the right location, and take the time to configure your settings for the best experience. With a little preparation and attention to detail, you’ll be ready to kick back and enjoy your new entertainment setup.
Now that you’re equipped with these tips, it’s time to get started on your TV setup. Happy viewing!


Comments